Not my big 4-0, of course. Mine happened a few years ago! But it was my only sister's big milestone birthday and I wanted to make it extra special. She lives about 600 miles away-the closest we have been in decades. We are both military wives and would love to live next door to each other, but it just doesn't work that way! So I started brainstorming a little while ago. Should I throw her a party in a funeral home? Fly her somewhere? Hire a stripper? Ok, none of those was going to be feasible, so I did what I do best--shop! and create! (well, in my case, copy other people's fabulous ideas) and worry about every little detail on every little project! Because she is the one person in the world who will appreciate the time and love I put into every last millimeter of her gift! So I decided to send her a box full of 40 presents.
See?

And now some real pix from a real photographer! T sent me these after she opened the box.
See?

.JPG) |
| I wrapped the whole thing in more kraft paper and topped it off with 40 candles. |
I found this idea on you are my fave (which is now one of my faves!)
Anyway, I spent an inordinate, but completely enjoyable, amount of time figuring out what forty things I would send her. I decided to send several categories: party in a box, my favorite things, crafty stuff, handmade with love, forty and punny, and miscellaneous for anything else! Here is a list of some of the things I put in:
Favorite things:
truffles (lindt)
Bath and Body works candle, slipper socks, lip gloss
Party in a box:
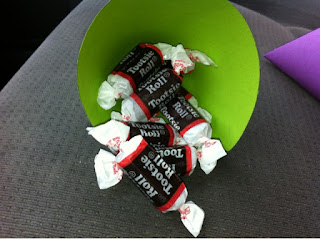
Confetti (made with a 1" punch and tissue paper)
Balloon wreath (see this post)
Mini pinata (see this post)
40 candles
party horns
Handmade:
A halloween hanging
a mini clipboard covered with scrapbook paper
a twine covered letter (future craft in the car tutorial)
Forty and Punny:
Forty rocks-pop rocks
Forty blows-bubble gum
Forty sucks-40 dumdums in a box
You are flippin' 40- a nice cookie spatula
Whoopie you are 40-a whoopie pie pan
The best part was wrapping! I love to wrap presents. I love to wrap coordinating, cute presents. I love spending many minutes finding just the right detail to embellish my treats! I used kraft paper and black, cream and red as my palette. Here are some examples.
 |
Brown kraft takeout box from thinkgarnish.com, canvas flower from canvas home basics. |
 |
Brown burlap bag also from thinkgarnish.com. Canvas banner from canvas home basics, a crafty scrapbooking brand I adore. |
 |
More canvas home basics, plus super cute ribbon and flowers from my local scrapbook store. I think the flowers are Prima. |
 |
This is one of my faves. I threaded twine through the grommets on the banner flags. So cute. |
 |
I mad a fabric flower out of the ribbon from above. Put it on a giant gluber. |
 |
Side view of the above present. Ripple cup from thinkgarnish. Love that website! |
And now some real pix from a real photographer! T sent me these after she opened the box.
There you go. My labor of love. And time. And much kraft paper and twine. Special thanks to my hubby who dealt with all this stuff in our bedroom for about 10 days, while I wrapped in my spare time! Anyone need me to wrap anything? I am available until December 24!


