Showing posts with label happy mail. Show all posts

Saturday, November 22, 2014

Christmas Gifts


This last class I taught at the scrapbook store, we focused on fun and quick gifts for Christmas.  So here is a quick recap! 
Above, is a little kit with sugar cookie mix, hot chocolate mix, sprinkles in little containers, and dried marshmallow bits in an ornament.  I also added some chocolate dipped spoons.  You can see the original idea on pinterest here.

Next is a fun item you can pop in the mail for not very much.  Cotton candy, dressed up!

I just got a container of cotton candy in the christmas aisle at walmart.  It only weighs a few ounces, so you can mail it as a first class parcel for just a couple of dollars.  I wrapped it around with some kraft paper and a cute scrapbook piece, and it's ready to go.  

Here, on triedandtrue, I found one of the cutest ideas ever!
It is an EOS lip balm as a rudolph nose!  You can go to her site for the free printable.  Also, one of the ladies in my class found the Walgreens brand of lip balm in the same shape, but it is shiny!  Like Rudolph's nose.  So cute.

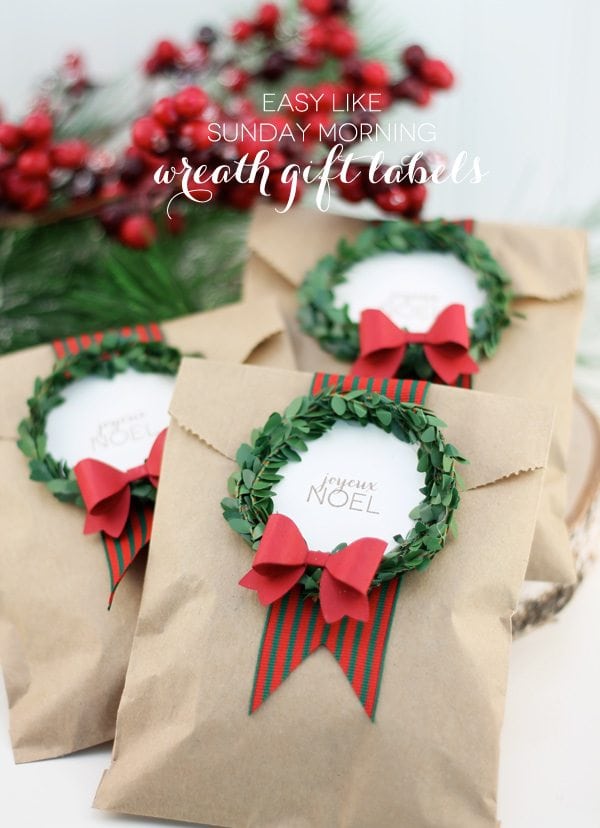
Another quick project we did was originally found HERE, on damasklove.  A great way to jazz up a kraft bag.
We also made these
which can be found HERE on bubblynaturecreations.  I used the dip mix recipes from this blog budget101.  We used the onion dip, fiesta dip, and copycat hidden valley ranch, but there are several others to choose from.  

I also showed the ladies one of my fave gifts, hot chocolate on a stick! 
The original post on this cute project is HERE.  This amazing idea is from giverslog, whose author AmberLee owns this shop HERE.So if you don't feel like DIYing it, she has some great gifts that will make any chocolate lover happy.

One last idea, was a gift card snow globe.  

HERE is the original post from smartyhadaparty.

I'm going to be making a few of these!  If you have specific questions about any of these projects, just leave me a comment!

Monday, August 18, 2014

Cake pops and stuff

Here's a quick review of class at TCC last week!  We made these cute little guys:


 Here are some cake pop basics:  

Best website: bakerella.com.  Not only is her site really informative, she has the best eye candy!  

Basic recipe:

1 cake mix, baked to instructions
1 can frosting
2 bags candy melts
lollipop sticks

Crumble cake with hands into large bowl.  Don't worry about crust pieces that don't crumble as easily.  They will soften when the frosting is added.  Add about 1/2 can of frosting.  Mix well.  If the mixture doesn't roll into a ball easily, add a little more frosting.  Use a mini scoop to scoop your cake mixture.  Roll in ball with your hands.  Chill the cake balls for about an hour, until firm.  When ready to dip the cake pops, melt the candy melts in a plastic bowl.  Usually, this works best if you microwave at 50 percent power for 1 minute at a time, and then stir.  Repeat until the melts are a nice consistency for dipping.  If needed, add a little shortening to make it thinner, or coat more easily.  Dip a lollipop stick into the candy mixture, just about 1/2".  Then insert the stick into a cake ball. Allow to harden for a few seconds.  Dip the cake ball, straight down and up out of the mixture.  Gently tap the wrist that is holding the cake pop with your other hand to remove excess coating.  Then, either put the cake pop on wax paper, upright, or insert into styrofoam block to cool.  Decorate as desired. 

Helpful hints:
Don't use cake mix with pudding in the mix.
Don't add too much frosting to begin with, you can always add more if you need, but if the mixture is too mushy, your cake pops will be hard to work with.
Coat twice if you want your pops to look nice and round and smooth.
Use toothpicks to apply extra coating, to "glue" on your candy, and to clean up edges.
After dipping for a little while, your melts will have some moisture in them, and also might be getting a little hard.  Zap them in the microwave with a little shortening to get the consistency right.
And last, presentation is everything!  Put them in a cute container!


Here are a couple more ideas from class:

Happy Mail!
 Start with a soda bottle, clean, dry and cut in half with a serrated knife and scissors.
 Gather some cute, lightweight items for the inside.
 Fill up both halves.  Put the bottle back together with packing tape.
 Then decorate.
Add a cute piece of card stock for a mailing label.  Address and put stamps on it.  You can check the USPS first class parcel rates HERE.  Throw it into the blue mailbox!  Enjoy your day, knowing you just made someone happy!